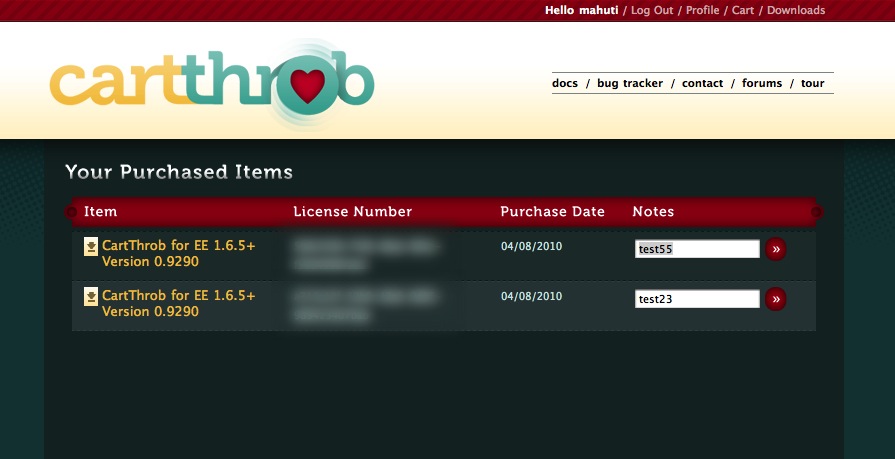
Adding Custom Data to Purchased Items and Orders
You may want to store custom data with your orders as a whole, or with each individual item added to your cart. Custom data can be stored either as part of price modifiers data (documented here using price modifiers in a channel entry, and here setting up a price modifier custom field) or in fields you create specifically for this purpose. You can store customer notes, license information, special configurations, or other information that you can dream up.
Whether you are adding custom data to Orders as a whole, or to individual items, the process is similar. The overall process is this:
- You create custom fields to store the data
- You create input fields in your forms to gather the data.
Backend Setup
Start by creating custom fields in your orders/purchased_items
channels as you'd like them. Name them whatever you want, it doesn't
matter. Because your orders channels and purchased_items channels are not
specific to one type of product, you may need to store multiple types of
custom data. Keep that fact in mind when setting them up. When
outputting these fields in your template you may want to hide some of
the fields depending on the specific product type.
Adding Data to Purchased Items
You add custom data to purchased items when you add the product to the
cart using the
add_to_cart_form.
You can also update this information in the update_cart_fom. If you
have a custom field in your purchased_items channel named
"purchased_items_notes" Create an input field similar to the
following:
 /*The name assigned to the input field should always be item_options[your_field_name]. */
<input type="text" name="item_options[purchased_items_notes]" />
Adding Data to Orders
You add custom data to entire orders in the
checkout_form.
If you have a custom field in your orders channel named "order_notes"
Create an input field similar to the following:
 /* The name assigned to the input field should always be the name of the custom field you want the data saved to. */
<input type="text" name="order_notes" />
You can use this method to save any data in your checkout form, as long as the input name and your custom field short name match.
Add Items to the Cart
{exp:cartthrob:add_to_cart_form entry_id="123" price="12"}
    Notes:
    <input type="text"
        name="item_options[purchased_item_notes]"
        value="My Notes!" />
        ...
{/exp:cartthrob:add_to_cart_form}
Update item in cart
{exp:cartthrob:cart_items_info}
    {exp:cartthrob:update_cart_form}
    Notes:  <input type="text"
            name="item_options[{row_id}][purchased_item_notes]"
            value="{item_options:purchased_item_notes}" />
            ...
{/exp:cartthrob:cart_items_info}
Add information to Orders
{exp:cartthrob:checkout_form}
<input type="hidden" value="Hidden order data" name="my_custom_field_name" />
.....
{/exp:cartthrob:checkout_form}
Using this method, you can create incredibly robust and rich configuration and ordering systems suited to your specific requirements.